How to Use SharePoint Online: Best Practices, Tips, & Tricks

The Microsoft SharePoint platform is a powerful tool for streamlined file sharing and storage in the cloud. The platform is intuitive for most users, but novices may not know how to maximize its potential. Fortunately, we do, and in this piece, we’ll show you a few of our favorite SharePoint tricks.
SharePoint is a digital platform with many features, but at its heart, it is a tool for making a document management system or an online document library. The site is great for sending out news to a select group or to the entire company. In addition, once you have mastered SharePoint Online, you will find that daily tasks like document management and communication become much less of a hassle.
Practices for using the program are covered here, but if you really want to know how great SharePoint is, you should read our SharePoint review. We’ll be grouping our recommendations into separate sections because SharePoint’s feature set is so broad. We’ll cover the fundamentals of SharePoint in each section, and at the end, we’ll throw in some random tidbits that you might find helpful.
SharePoint Site Development
The first thing to do after signing up for SharePoint Online is to make a site for either group communication or teamwork (or both). While it doesn’t take much work to set up a website, there are a few things you can do to make sure it’s the best it can be for your purposes.
1. Learn About Different Types of SharePoint Sites
SharePoint features two distinct site varieties: team and communication. There’s an overlap between the two, but you should know the specifics of each before you start building a site (from scratch or using a site template).
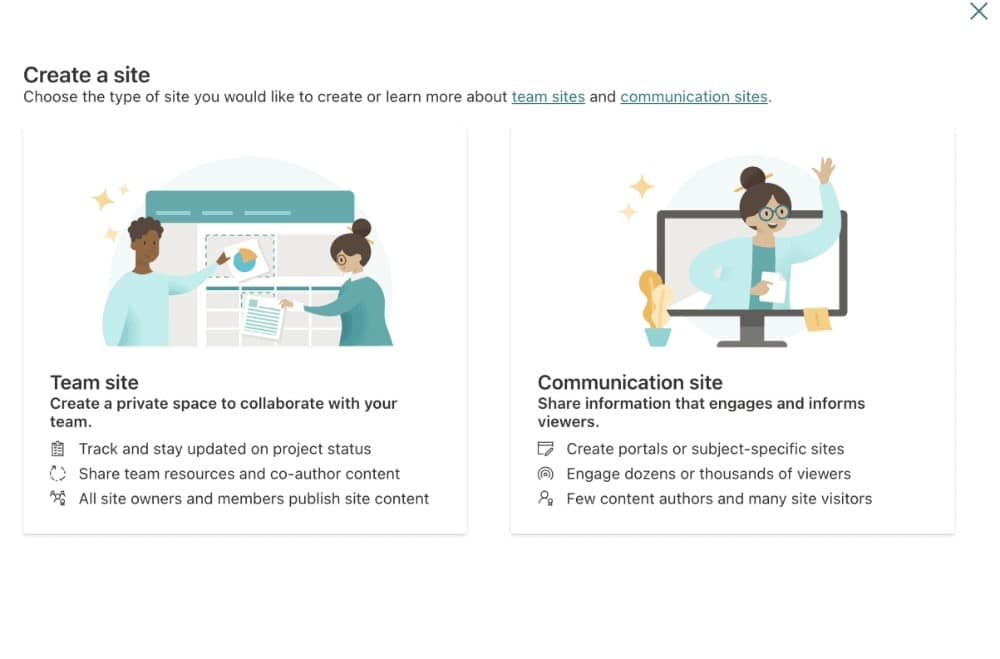
Before starting, it’s necessary to understand the distinction between team and communication sites. Teams using SharePoint, for instance, can benefit from having a dedicated site where they can work together on projects in real-time. Fewer people on a team often administer the communication sites and use them to transmit news to the rest of the group. Most members can simply read a SharePoint page, as opposed to editing it like on the team sites.
2. Add A Second Site Owner
Each SharePoint site and page must have its content managed by the site owner. This means they will be in charge of delegating tasks and authority to other members of the team.
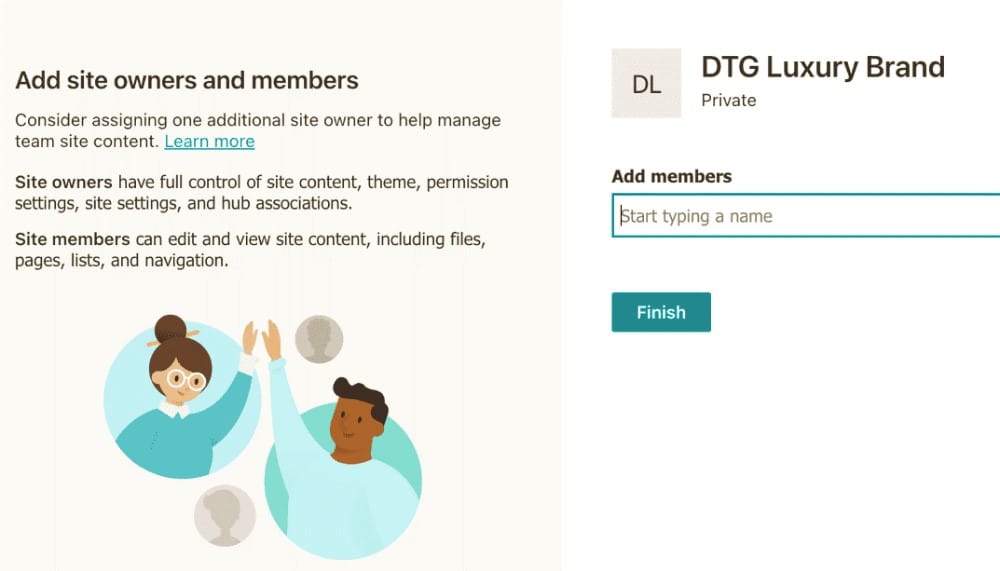
Adding a second SharePoint site owner allows you to divide administrative tasks. Site owners can be compared to SharePoint page administrators because they are in charge of the site’s day-to-day operations. Maintaining forward momentum may prove difficult, depending on the strength of your crew.
You can designate a co-administrator for a SharePoint site at the time of its creation. It is beneficial to divide and conquer if possible. You shouldn’t feel superior because having two site owners usually results in a more streamlined and consistent method of operation.
3. Read the Communication Site User Guides
Several blocks with a wealth of information on how to make the most of Microsoft communication sites are presented after you have set up a communication site. We highly recommend reading the included documentation for your various communication platforms.
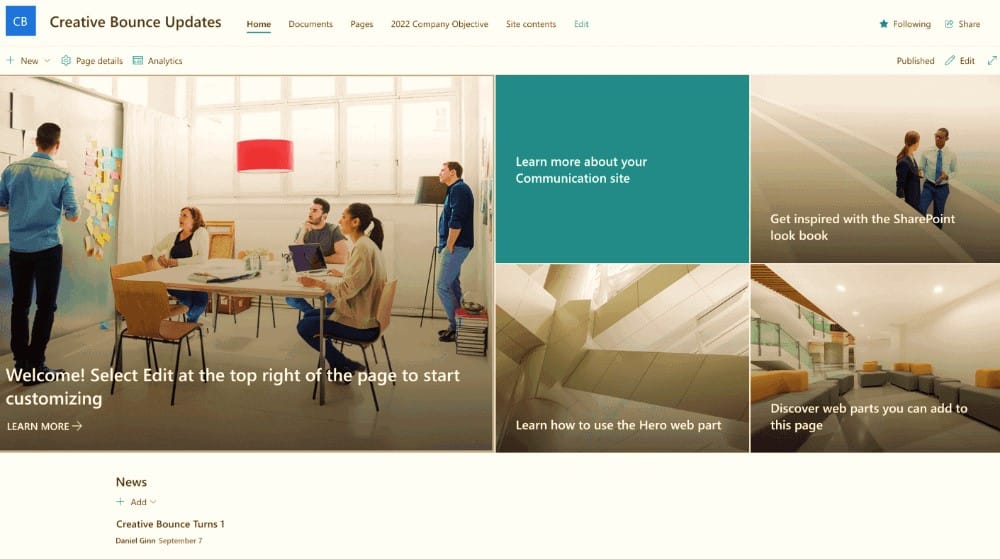
It could be tempting to just wing it and not bother with them, but you shouldn’t. There’s a wealth of helpful details, such as how to utilize site layouts and how to develop distinctive and aesthetically pleasing platforms for conveying information.
4. Creating SharePoint Centralized/Hub Site
SharePoint users with larger organizations may find it necessary to set up additional sites for internal communication and teamwork. It’s possible that some of these sites will overlap, and that certain members of your team will seek access to all of them many times. Fortunately, there is a method for unifying them all and developing a coherent site architecture.
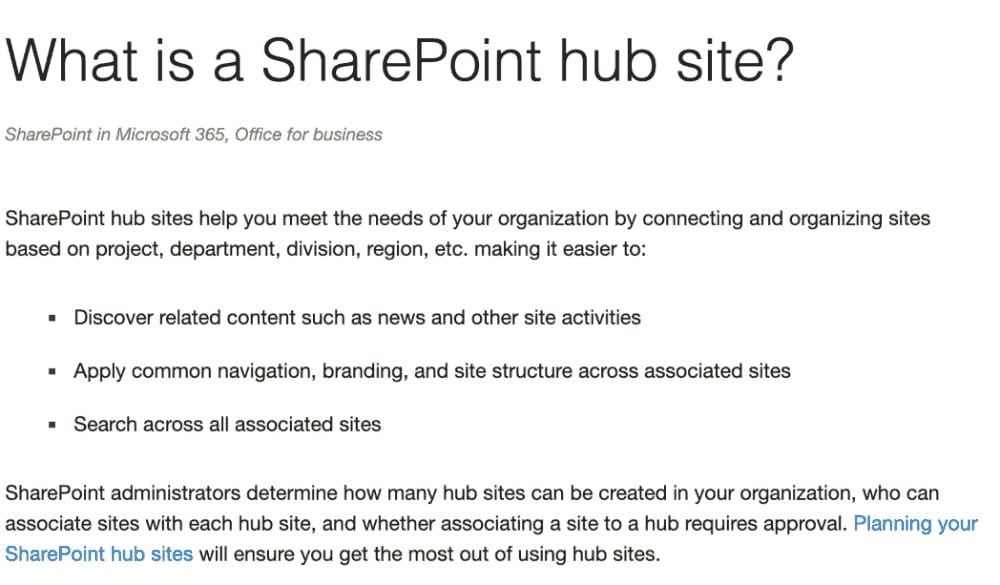
By establishing a network of hub sites, you may unify your online presence. You may use SharePoint hub sites to consolidate all of your company’s websites in one central location, turning SharePoint into a virtual intranet. Constructing a hub site requires much preparation and time, but the benefits are well worth the effort. Fortunately, Microsoft provides a thorough hub site guide to assist new users.
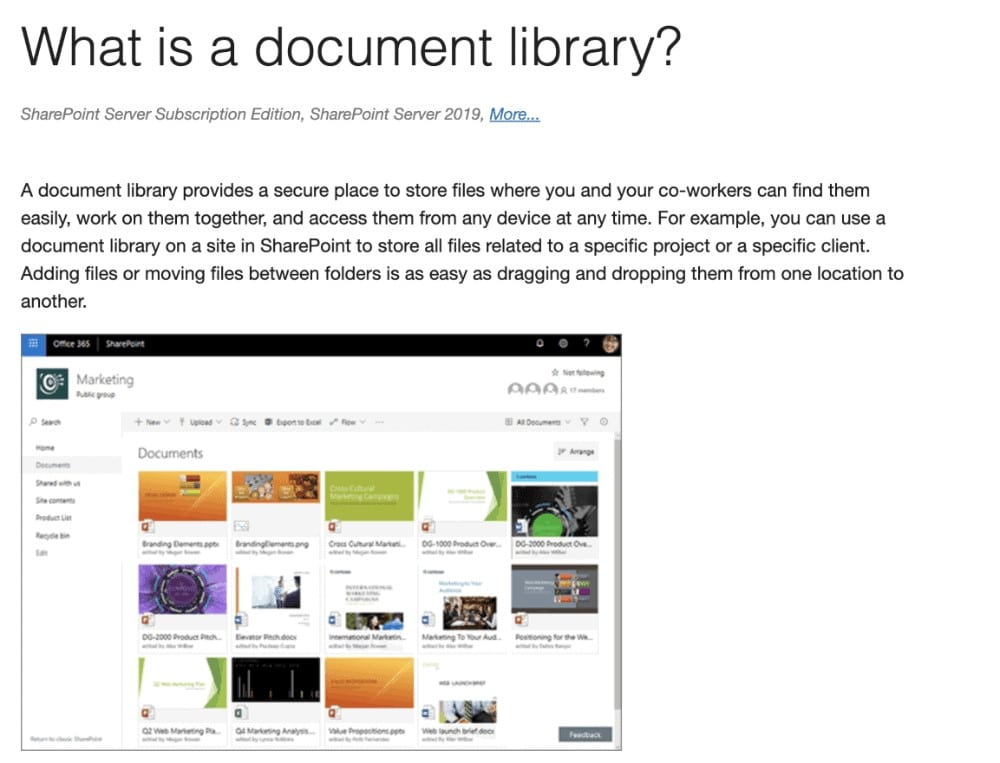
SharePoint Document Library
You can classify documents by subject using a document library. Organize your files by category and assign them to groups or individuals.
5. Consider Options for Online Document Storage Other Than SharePoint
It is recommended that you plan ahead for the many kinds of document libraries you will need while migrating to SharePoint in order to get off to a quick start with your SharePoint sites.
Determine exactly what kinds of document libraries you want to build. Once you’ve determined the primary types of documents you’ll be working with, you can easily set them up as folders in SharePoint and start managing your documents right away.
6. Benefit from Detailed Accounts
When you make a new document library, you can give it a name and a description of the content it will hold. This section is optional, but skipping it would be a mistake. Write informative summaries of your document repositories to let other users know what they may anticipate.
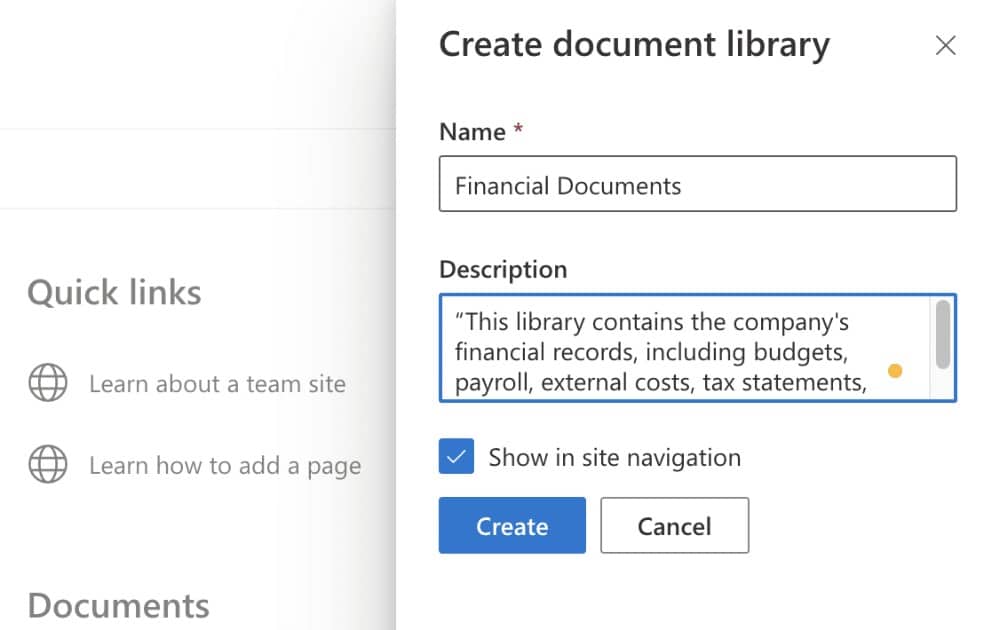
Instead, be specific about the kind of documents housed in a certain document library in the description you create. This helps a lot when inviting new people to join your SharePoint team site.
Let’s imagine, for the sake of argument, that you’re setting up a SharePoint document library to store your company’s financial records. Use ‘financial records,’ ‘budgets, ‘payroll,’ ‘external costs,’ and ‘tax statements and reports’ instead of ‘financial documents’ in the description.
Read also → Difference Between SharePoint 2019, 2016 and Online
7. Label Your Documents Correctly & Consistently
Find any file quickly and easily with SharePoint’s powerful search features. Good data is essential for a powerful search engine, and that’s where you come in. Develop a consistent and comprehensible naming system for the documents within your libraries to ensure that you can always find the one you’re looking for.
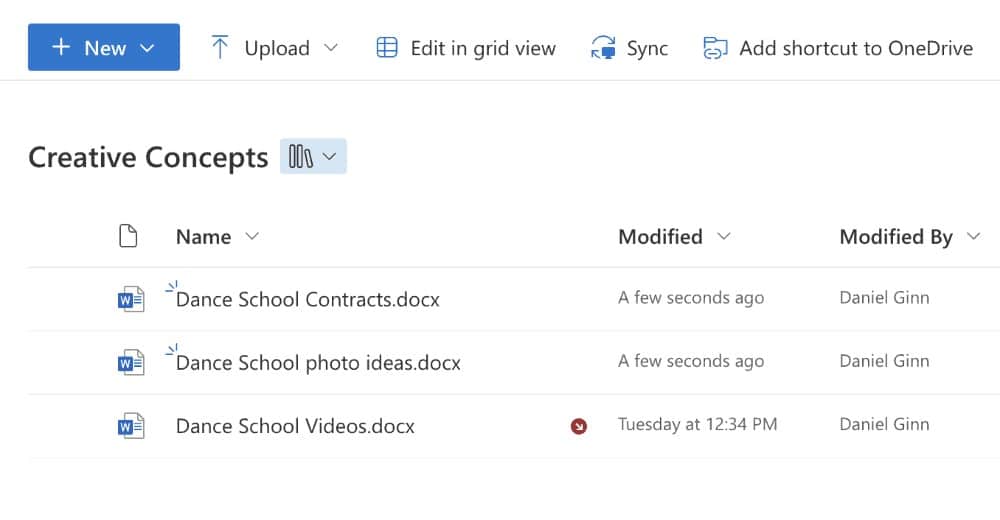
Having a naming scheme that is both precise and consistent will make document management much less of a headache. Stay motivated (we’re all guilty of slacking off sometimes). SharePoint will assign the default title ‘document’ to any new file you create. Give the document a name before you start working on the body, and be sure the name conveys its purpose.
8. Add Image Tags to Your Documents
Add tags to photos in your papers to make searching for them easier. It won’t eat up much of your time and is really easy to implement. If you forget the name of a specific document, you can find it more easily by searching for a tag.
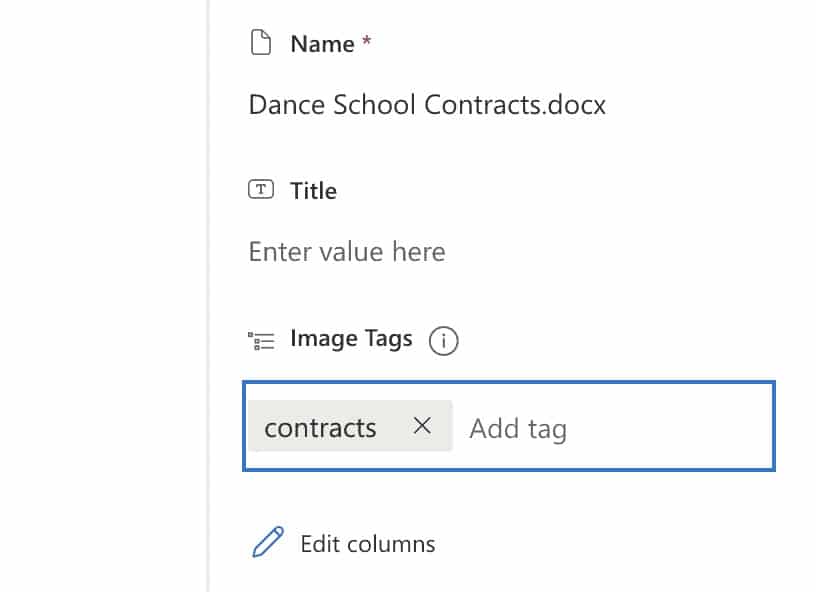
It is much simpler to locate papers if they are tagged. Tag your photographs with as many relevant terms as possible. With more descriptive tags, it will be less of a hassle to locate the desired papers. For example, ‘HR files’ may be rewritten as ‘staff absences.’
9. Pin Important Documents & Folders to the Top
There are probably some documents in each of your document libraries that are more crucial or frequently referenced than others. To make sure you and your team always have access to these files, you can ‘pin’ them to the top of your document library.
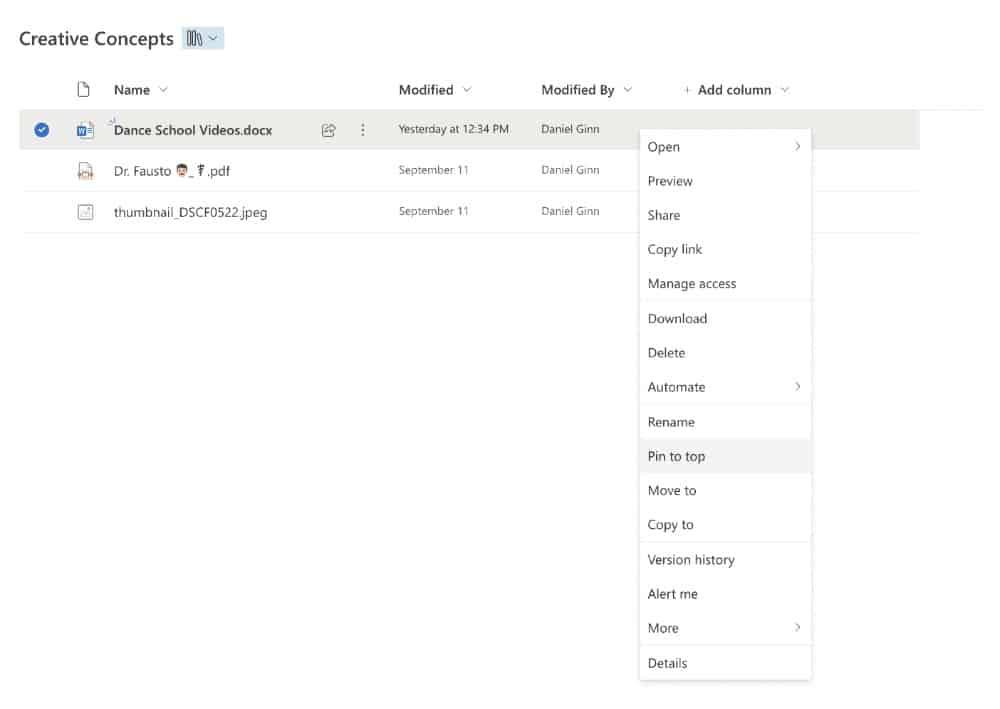
SharePoint lets you ‘pin’ items to the top of a library for easy access. This ensures that they will always be the first files displayed upon entering the library, regardless of the file name. To accomplish this, right-click the item you’d like to pin and choose ‘pin to top’ from the contextual menu that appears.
10. OneDrive Library Sync
SharePoint and OneDrive work well together. The result is that you may use OneDrive to gain access to your local document libraries right from your computer. Before you can access your online SharePoint account, you must download and install OneDrive on your desktop.

With OneDrive, you may synchronize your SharePoint data with your local computer. Each document library has its own version of ‘sync’ on the main menu. Choose it, then grant permission to access your OneDrive files (read our OneDrive review). Your SharePoint files will be available in OneDrive so long as you continue to use the same account. If you’re a Windows user, you can also utilize File Explorer to look for and examine certain files.